CODING A COLLAGE LAYOUT...
InformationDifficulty: Medium
|
This tutorial is going to teach you how to create the basic structure of a layout. If you have any questions about this tutorial, please feel free to email me, mykutbabe@gmail.com. You will first need to open up some type of text editing program. Note Pad is a standard text program that comes as a factory application on most computers.
Step One
Create a text file and name it style.css. This file will contain all the main coding of your layout. Once you’ve created it, you will start adding your coding to it.
We are going to start with the body.
background: #ededed
background-image: url(‘BACKGROUND IMAGE URL HERE’);
font-family: verdana;
font-size: 10px;
color: #666;
}
• background-color: this is the background color of your website (change the color that best fits with your layout
•background-image: this code is if you want to have a image as your background of your website (if your using an image as your background replace BACKGROUND IMAGE URL HERE with the URL of the image you are wanting to use, if your not using an image you can leave it blank or remove the line)
•font-family: this is the font for your entire layout, you can change it to any universal fonts (example: verdana, arial, georgia and many more)
•font-size: this determines the size of the font for your layout
•font-color: this is the color of the font
Step Two
The next step is the header. The header is the main image of your layout.
Click here to see an example of a header
width : 750px;
height : 260px;
margin : 0 auto;
background-image: url(‘HEADER IMAGE URL HERE’);
}
•width:this is how wide your image is
•height:this is how tall your image is
•magrin: this will center your layout to the middle of the screen .
•background-image:this is your header image, simply replace HEADER IMAGE URL HERE with the link (URL) of the your image.
Step Three
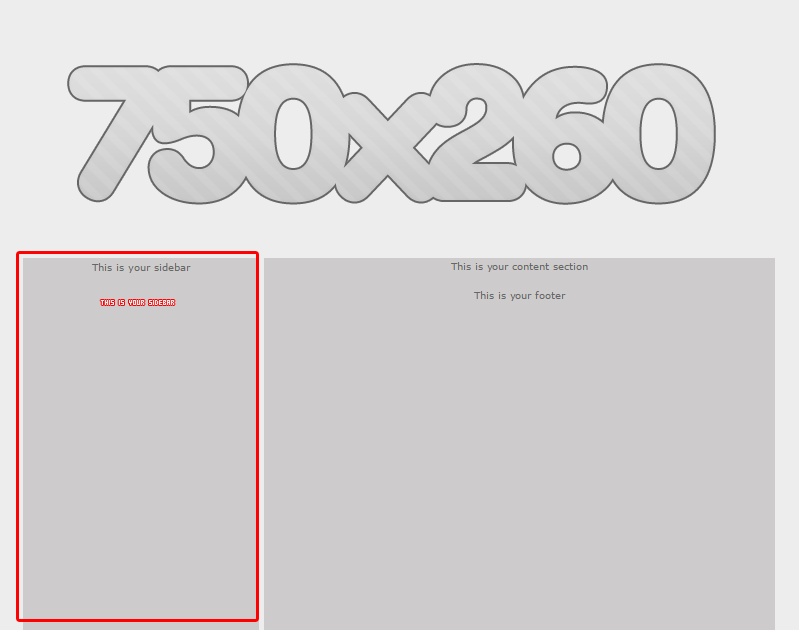
The next step is the sidebar. The side bar is where you hold all your additional information
Click here to see an example of a sidebar
position: absolute;
left:305px;
top: 265px;
width:230px;
padding:3px;
background-color:#cdcbcb;
}
•position absolute: positioning that allows you to literally place any page element exactly where you want it.
•left: this is the position of your sidebar from the left your screen.
•top: this is the position of your sidebar from top of your screen. Play around with the numbers to set it where you want it to
•width: this is how wide you want your sidebar to be
•padding: This is the area inside the element. For right now you won’t need to worry about this in your layout, so you can leave it the way it is
•background-color: this is the background color of the base of your side bar, you can keep it the same color as your background, or change it to a different color.
Step Four
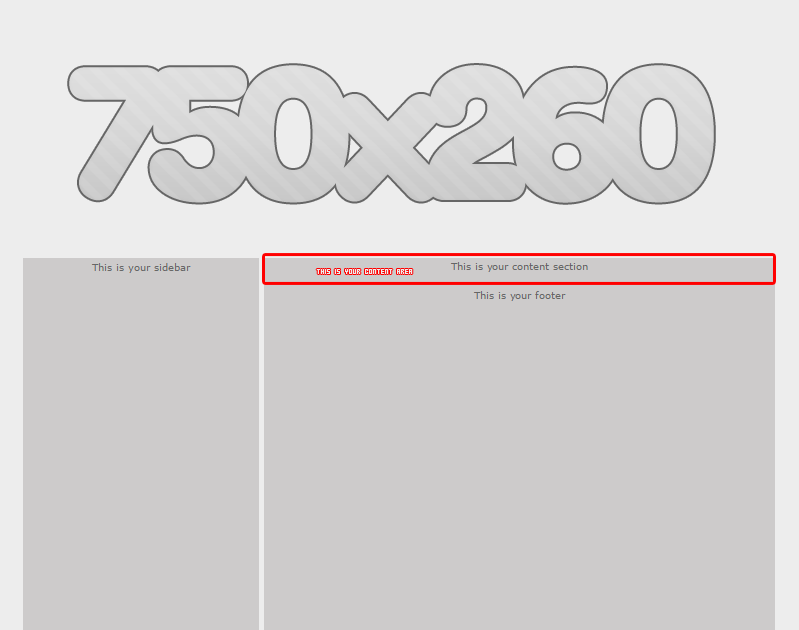
The next step is to create the content section Click here to see an example of a CONTENT
position: absolute;
left: 536px;
top: 265px;
width:507px;
background-color:#cdcbcb;
padding:2px;
margin-bottom:5px;
margin-left:10px;
}
Most of this coding is pretty much the same as the sidebar, so I won’t be repeating myself.
•margin-bottom: this is the area outside of the header, on the bottom.
•margin-top: this is the area outside the header on the top.
Step Five
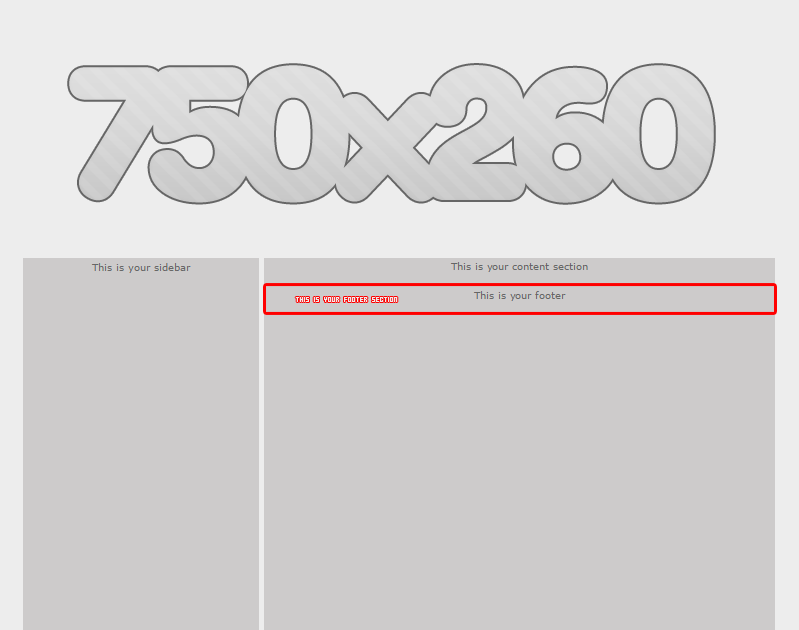
Now we are going to create the footer section CLICK here to see an example of a FOOTERr
clear: both;
padding : 17px;
text-align : center;
}
•clear: this means it will go straight across the content section.
•text-algin:this will align your text to the center of the footer area.
Now the basic part of the style sheet is finished, you can add more coding to the style sheet such as custom headers, blockquotes, links and much more. I will be making separate tutorials for those soon
CODING A COLLAGE LAYOUT PART2
Now that your style sheet has been created, we are going to move onto the next part of the tutorial. Now you are going to create a new text file and name it header.php
Step One
<link rel=”stylesheet” type=”text/css” href=”style.css” media=”screen” />
</head>
•<head/>: This is the start of your head tag. This is the area that you will add other coding such as titles, cursors, style sheet, fav icons and more. For this tutorial you will not need to edit this at all. Simply copy and paste it and add it to your text file.
•link rel=”stylesheet” type=”text/css” href=”style.css” media=”screen”: This is the code that links to your style.css that you created on the previous page.
•</head>: Is what you need to end the tag. <head/> was the start of the tag and this is the end of the group/specific coding.
Step Two
•body: This code to start off your website, where you will add your header, the side bar, and the start of the content section. Don’t forget that every start of a tag needs and end of the tag as well, but that will come later.
Step Three
•<div id=”header”></div>: Remember on the style sheet page we created a #header? This is the code that makes your layout image show up on your website.
Step Four
Now its time match the sidebar in the stylesheet to the side bar on this page. Simply copy and paste this code under the rest of them.
This is were things like your welcome message, affiliates, cbox go
</div>
•div id=”sidebar: Just like header, this is the code that links the sidebar from the style sheet to this page, so that it shows up on your website.
Step Five
Now for the final step in this section, we are going to add the content section. This section is were all your content is displayed and the section that holds your blog posts on the home page. Once again you are going to copy the following code underneath the rest that you have done so far.
•div id=”content: If you noticed this one does not have the closing tags, this won’t need it for the time being
CODING A COLLAGE LAYOUT PART3
Now we are going to add the main page of this site, this is where the “content” section will be displayed. Create a new text file and save it as index.php. Then copy and paste the following code to your new text file
Step One
This is were your content will be displayed/blogging information
<?PHP include(‘footer.php’); ?>
•<?PHP include(‘header.php’); ?>: This code is links all your header.php to the main page of your website.
•<?PHP include(‘footer.php’); ?>: This code is links all your footer.php (we have no created this file yet) to the main page of your website.
This code is also used on all your other pages. Example: You are wanting to create a about me page, simply create a new text file, and name it aboutme.php and then paste the same code. If you want more information on how to use PHP Includes, follow this tutorial.
Step Two
Now for the last and step. Create a new text file and name it footer.php Then copy and paste the code below to the new page you just created
This is the footer section,
</div>
•<?div id=”footer”>: Just like the sidebar and content section, this code brings your #footer code to show up onto your website.
Now you have finished coding the structure of a collage layout. You can now start to add different types of coding to finish the full layout. If you have any questions please let me know via email mykutebabe@gmail.com